
FPV Build Guide
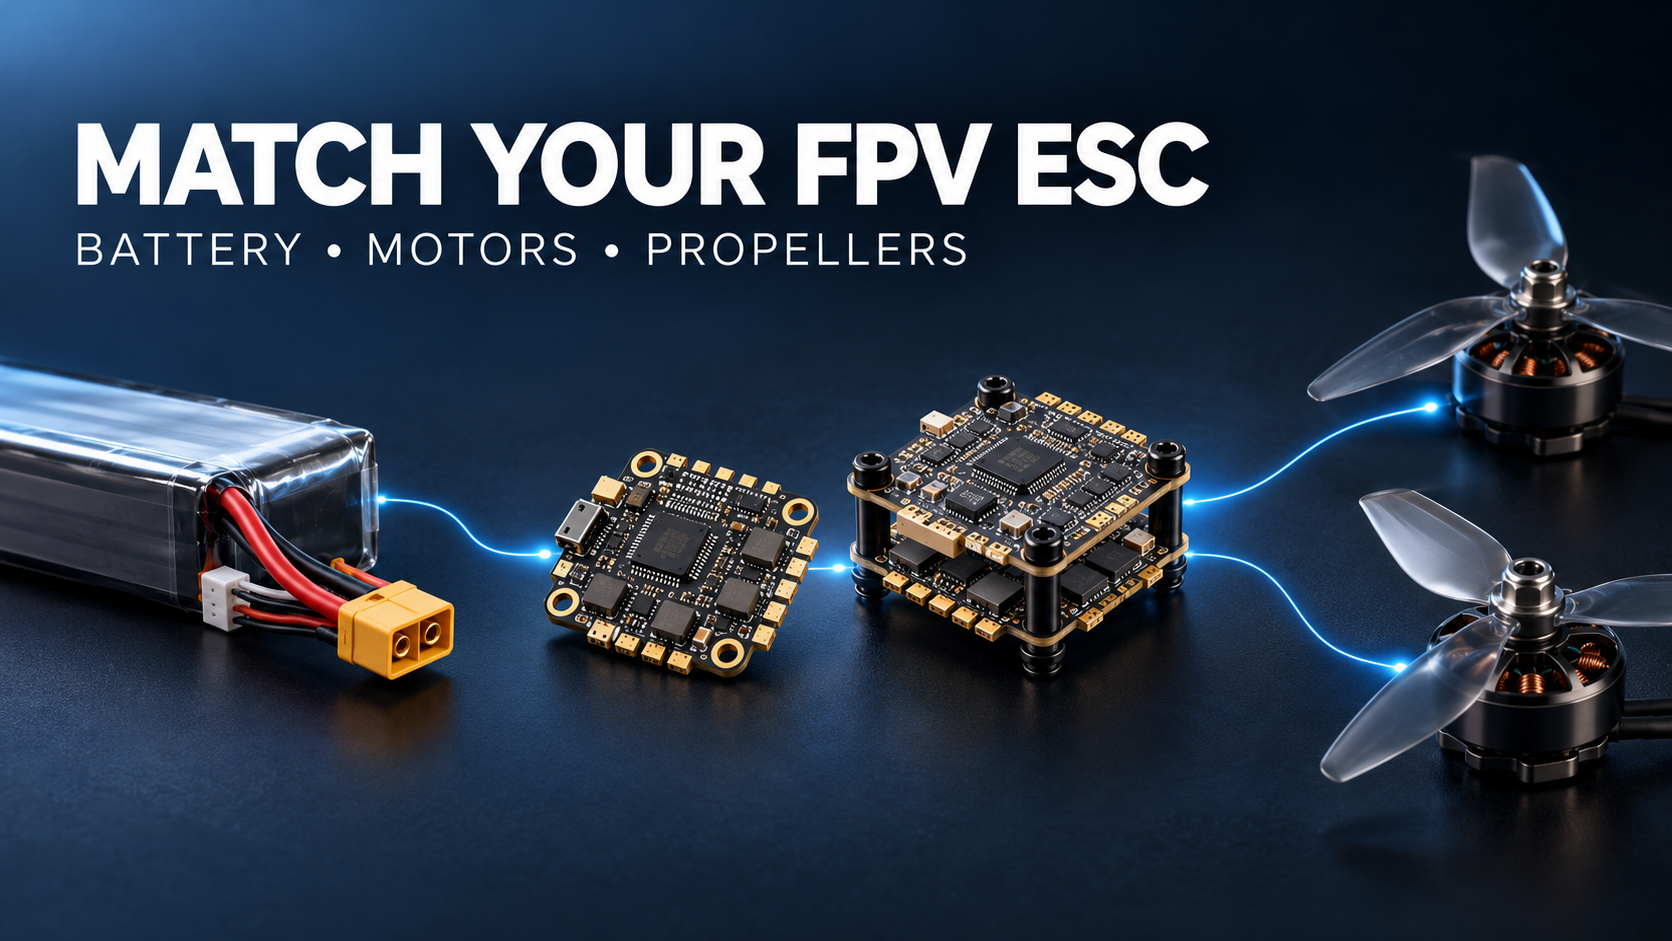
How to Match an FPV ESC With Your Battery, Motors and Propellers
An ESC controls how power reaches each motor, but its compatibility cannot be judged by its amp rating alone. The battery sets the input voltage, while the motor and propeller combination determines how much current the ESC may need to handle.
To choose an FPV ESC, confirm the battery voltage first. Then find current test data for your exact motor, propeller and voltage combination. Select an ESC whose continuous current rating exceeds that expected load, and check the rest of the power system before building.
1. Confirm the Battery Voltage
ESC specifications usually state a supported battery range, such as 2S–3S or 3S–6S LiPo. Your chosen battery must fall within that range. Check the voltage limits of the flight controller and other connected electronics as well, especially when the ESC is part of a stack.
Do not assume that an ESC’s voltage rating also applies to the entire stack. If the flight controller and ESC have different input limits, the complete power arrangement must be verified before using the battery.
2. Use Motor Data for the Propeller You Will Fly
Motor size and KV help narrow down your options, but neither tells you the full current demand. A motor can draw different amounts of current with different propeller sizes, pitches and blade designs. Battery voltage also changes the result.
Look for manufacturer test data showing current draw for the specific motor, propeller and voltage you plan to use. If you change to a more demanding propeller later, check the current data again rather than assuming the original ESC choice still has enough capacity.
3. Compare Current per Motor With Current per ESC Channel
For a four-in-one ESC, the stated current rating normally refers to each motor channel. Compare that rating with the current expected from one motor under the selected test conditions. Do not compare a single channel’s rating with the combined current of all four motors.
Use the ESC’s continuous current rating as your main reference. A peak rating applies only under the conditions stated by its manufacturer and should not be treated as a continuous operating limit. Allow headroom for changing loads, cooling conditions and differences between bench tests and the finished drone.
4. Check What the Battery and Wiring Must Supply
After checking one ESC channel, consider the whole drone. For a quadcopter, multiplying the tested current of one motor by four gives a rough upper-load planning figure under that test condition. Actual flight current will vary with throttle, propellers, aircraft weight and flying style.
Compare the expected total load with the battery manufacturer’s discharge information. Also check that the battery connector, power cable and solder joints are suitable for the build. A battery’s printed C rating alone is not enough to confirm real-world performance.
5. Verify the ESC’s Physical and Electrical Connections
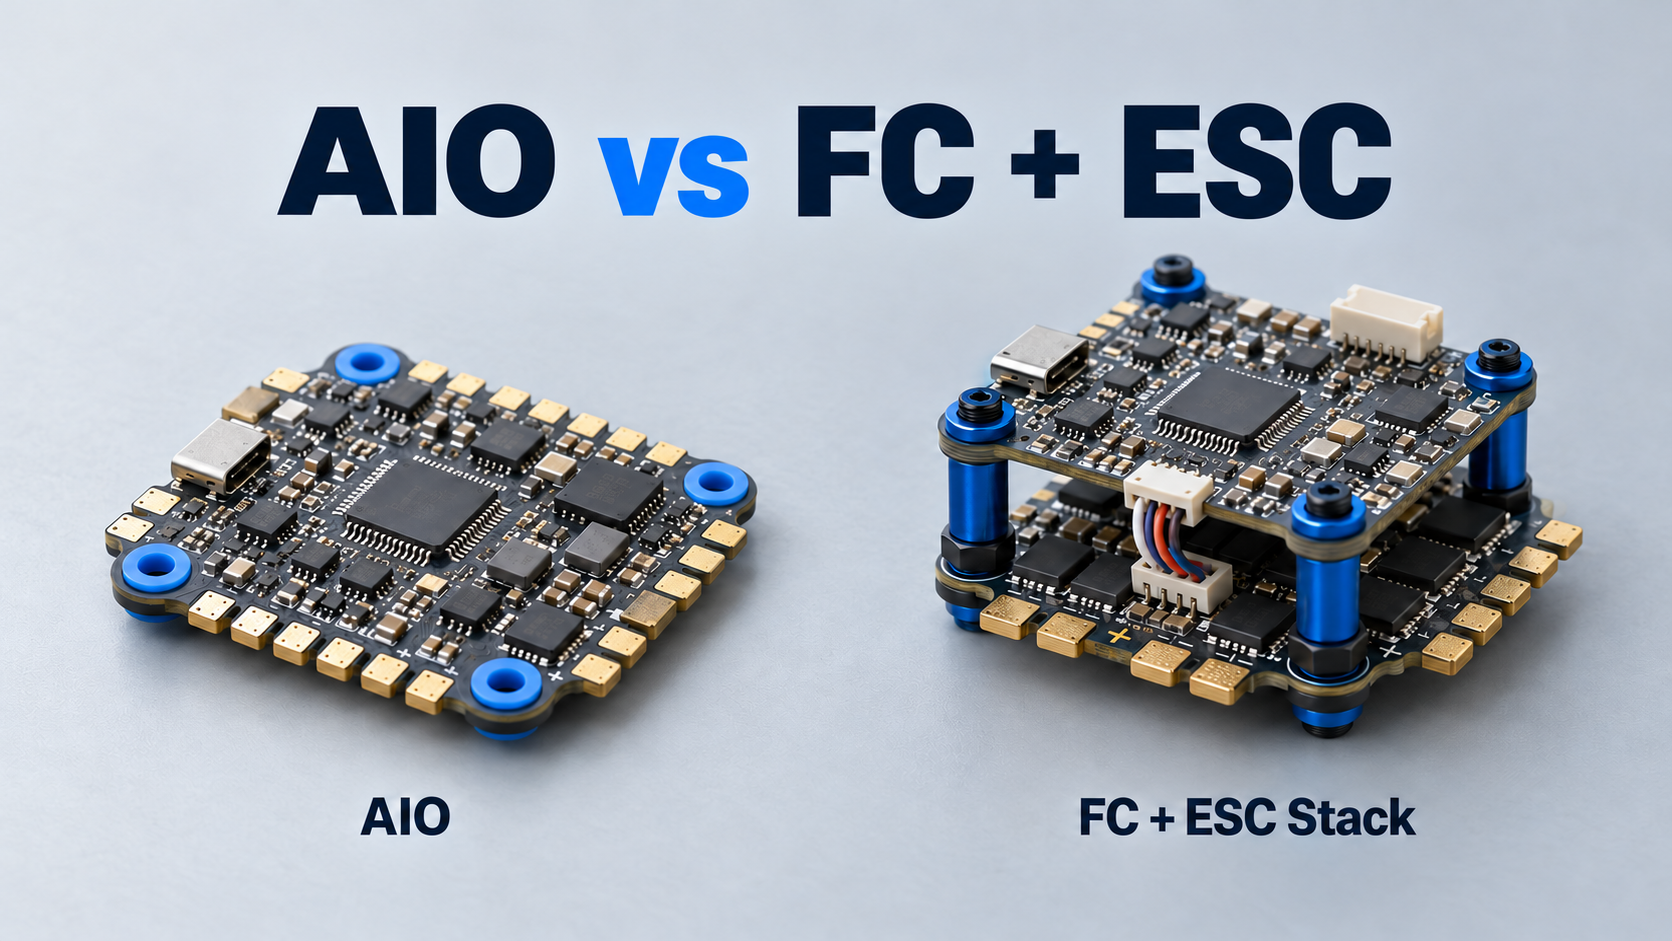
Confirm the ESC’s mounting pattern and the space available inside the frame. If you are combining a separate flight controller and ESC, check their signal protocol, connector type and pin order before plugging them together. A connector that physically fits does not guarantee the wiring is correct.
Review the manufacturer’s guidance for the power capacitor and installation layout. The FC’s regulated outputs must also meet the voltage and current requirements of the receiver, camera, video transmitter and other accessories.
How Do HK Corewing’s Listed Options Compare?
HK Corewing lists the BETAFPV F4 2–3S 20A AIO, which combines a flight controller with a 20A continuous ESC for compatible 2S–3S builds. Its catalog also includes the Aocoda-RC F460 V3 stack, with a 60A continuous rating per ESC channel and a 3S–6S LiPo input range.
These specifications help narrow the search, but they do not establish compatibility with a particular motor and propeller. For either product, check the exact motor test data, battery configuration, frame space and connected devices before ordering.
6. Verify the Completed Build
Before the first flight, check wiring, polarity and motor direction with the propellers removed. Once the drone is ready for flight, use available current measurements and temperature checks to evaluate the completed setup under controlled conditions. If you change the battery, motors or propellers, repeat the compatibility check.
Conclusion
Matching an FPV ESC is a step-by-step electrical check: verify battery voltage, use motor-and-propeller current data, compare that load with the ESC’s continuous rating, and confirm that the battery and connections can support the complete build. Choosing by the ESC’s advertised amp number alone leaves important compatibility questions unanswered.