
FPV Camera Guide
Starlight vs Thermal FPV Cameras: Which One Fits Your Application?
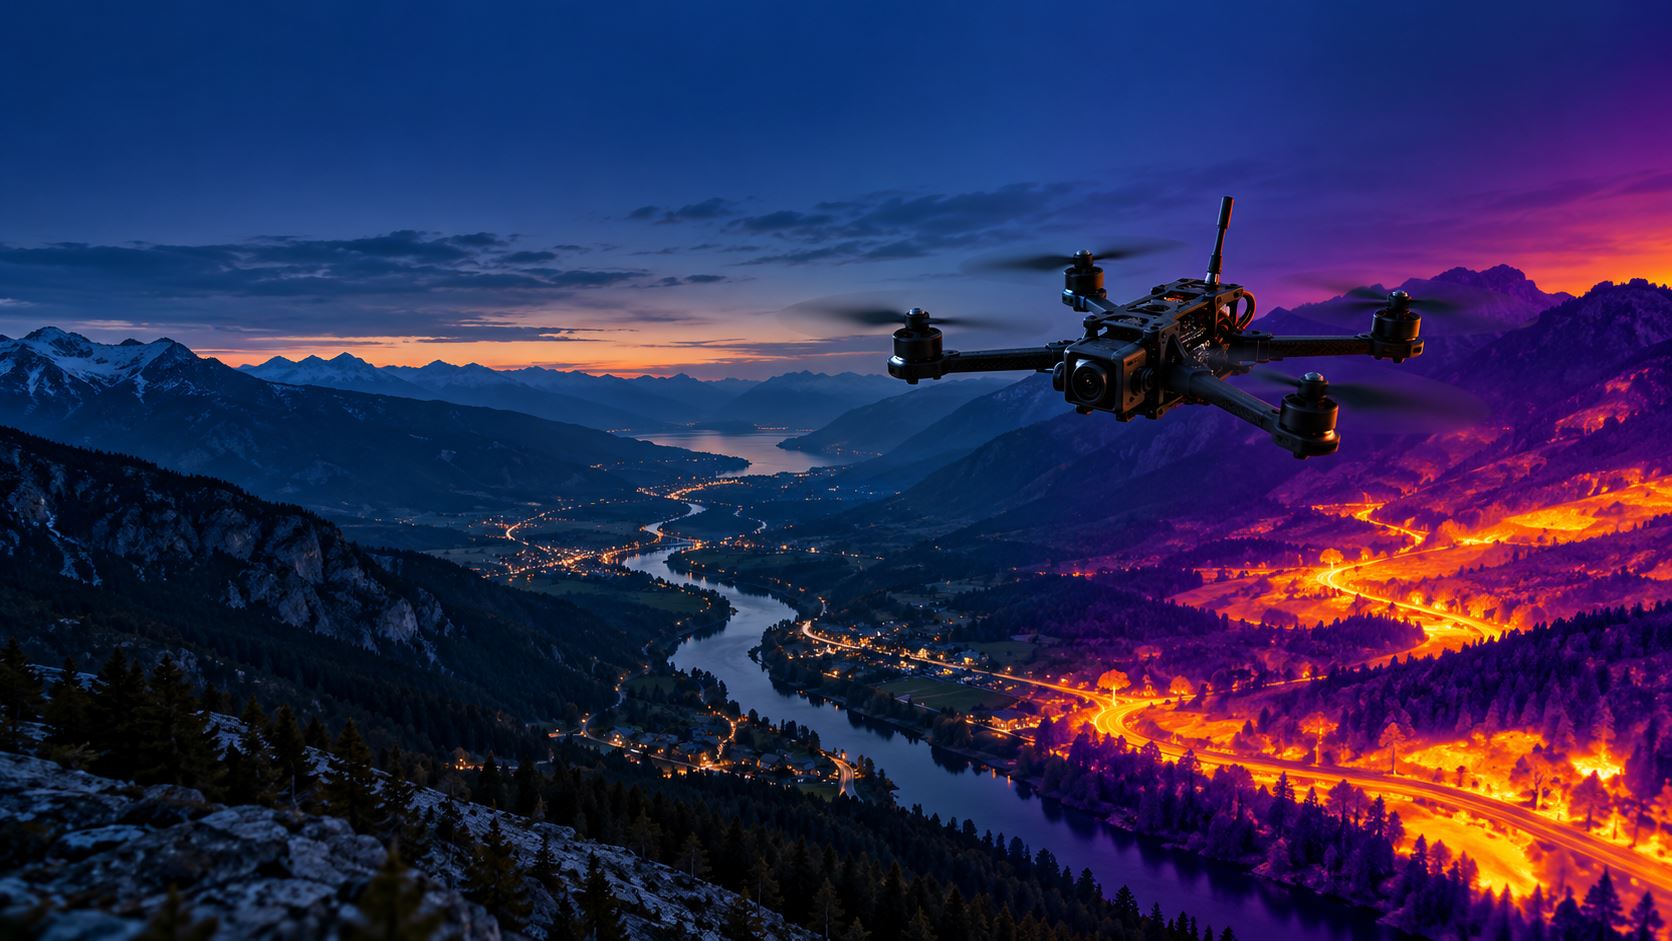
A starlight FPV camera and a thermal FPV camera may both help in difficult lighting, but they show the world in different ways. A starlight camera uses available visible light to show familiar scene details. A thermal camera detects differences in infrared radiation emitted by objects.
Choose a starlight camera when seeing the visible scene in low light is your priority. Choose a thermal camera when identifying heat contrast is central to the task. Before ordering either one, check its size, weight, power input and compatibility with your video system.
1. Understand What Each Camera Detects
A starlight camera is still a visible-light camera. Its sensor is designed to make better use of limited light, helping the pilot recognize the route, shapes, surfaces and other visual details in dim conditions. Its performance still depends on the available illumination; “starlight” does not mean unaided vision in complete darkness.
A thermal camera detects long-wave infrared radiation rather than visible light. It can display temperature-related contrast without relying on ordinary scene illumination. However, a thermal image does not reproduce visible colors and may not reveal every obstacle or surface detail that a visible-light camera shows.
2. Start With the Job the Drone Must Perform
For a compact FPV drone flown at dusk or in a dimly lit area, a starlight camera can be useful when the pilot needs a recognizable visible scene. It is also the more practical starting point when the aircraft has limited mounting space and a strict weight budget.
Thermal imaging is more relevant when the task depends on locating heat sources or distinguishing objects by thermal contrast. This may be useful for compatible observation or inspection platforms. It should be selected for a defined imaging requirement, rather than assumed to be a universal replacement for a conventional FPV camera.
3. Compare the Right Imaging Specifications
HK Corewing lists the Caddx Baby Ratel 2 with a 1200TVL analog video specification, a 1/1.8-inch starlight sensor and a 165° field of view. The listed Caddx Thermal 640CA uses a 640 × 512 thermal detector and provides a 50fps PAL analog output.
These numbers describe different imaging technologies. TVL and thermal detector pixels are not interchangeable measures of image quality. Ask what detail the camera must reveal in your actual environment, and evaluate sample footage under conditions similar to those in which the drone will operate.
4. Check Size, Weight and Mounting
The Baby Ratel 2 is listed with a 14 × 14mm camera body and an approximate weight of 3g. The Thermal 640CA is listed at approximately 27 × 37 × 40mm and 61g. That difference matters when choosing a frame, camera mount and payload arrangement.
Measure the available space and confirm how the camera will be secured. On a small FPV build, extra camera weight can affect balance and the space left for the battery and other components. Check the current product revision and mounting accessories before designing around the published dimensions.
5. Match the Camera to the Power System
The published input range for the Baby Ratel 2 is 4.5–36V DC. The Thermal 640CA is listed for 9–24V DC. A 5V output therefore falls outside the listed input range of the Thermal 640CA, even though it may be suitable for other FPV cameras.
Confirm the regulated output voltage, available current, polarity and connector pinout for the exact installation. Do not rely on a connector’s shape or wire colors alone to determine how the camera should be powered.
6. Verify the Complete Video Path
The Baby Ratel 2 provides analog CVBS video with selectable NTSC or PAL formats. The Thermal 640CA provides PAL analog CVBS video. For either camera, verify that the video transmitter accepts the camera’s output and that the receiver, goggles or display can show the resulting signal.
If the video passes through a flight controller for an on-screen display, check the controller’s analog video connections as well. A matching plug does not establish video compatibility, and an analog camera should not be assumed to work directly with a digital-only video input.
Which Listed Camera Is the Better Starting Point?
Consider the Caddx Baby Ratel 2 when you need a small, lightweight analog FPV camera that shows the visible scene in low light. Consider the Caddx Thermal 640CA when the application calls for thermal contrast and the aircraft can accommodate its larger body, higher weight and 9–24V power requirement.
The Thermal 640CA’s published specifications describe thermal imaging; they do not confirm calibrated temperature measurement. If your project requires numerical temperature readings, verify that capability separately before purchasing.
7. Complete a Pre-Order Compatibility Check
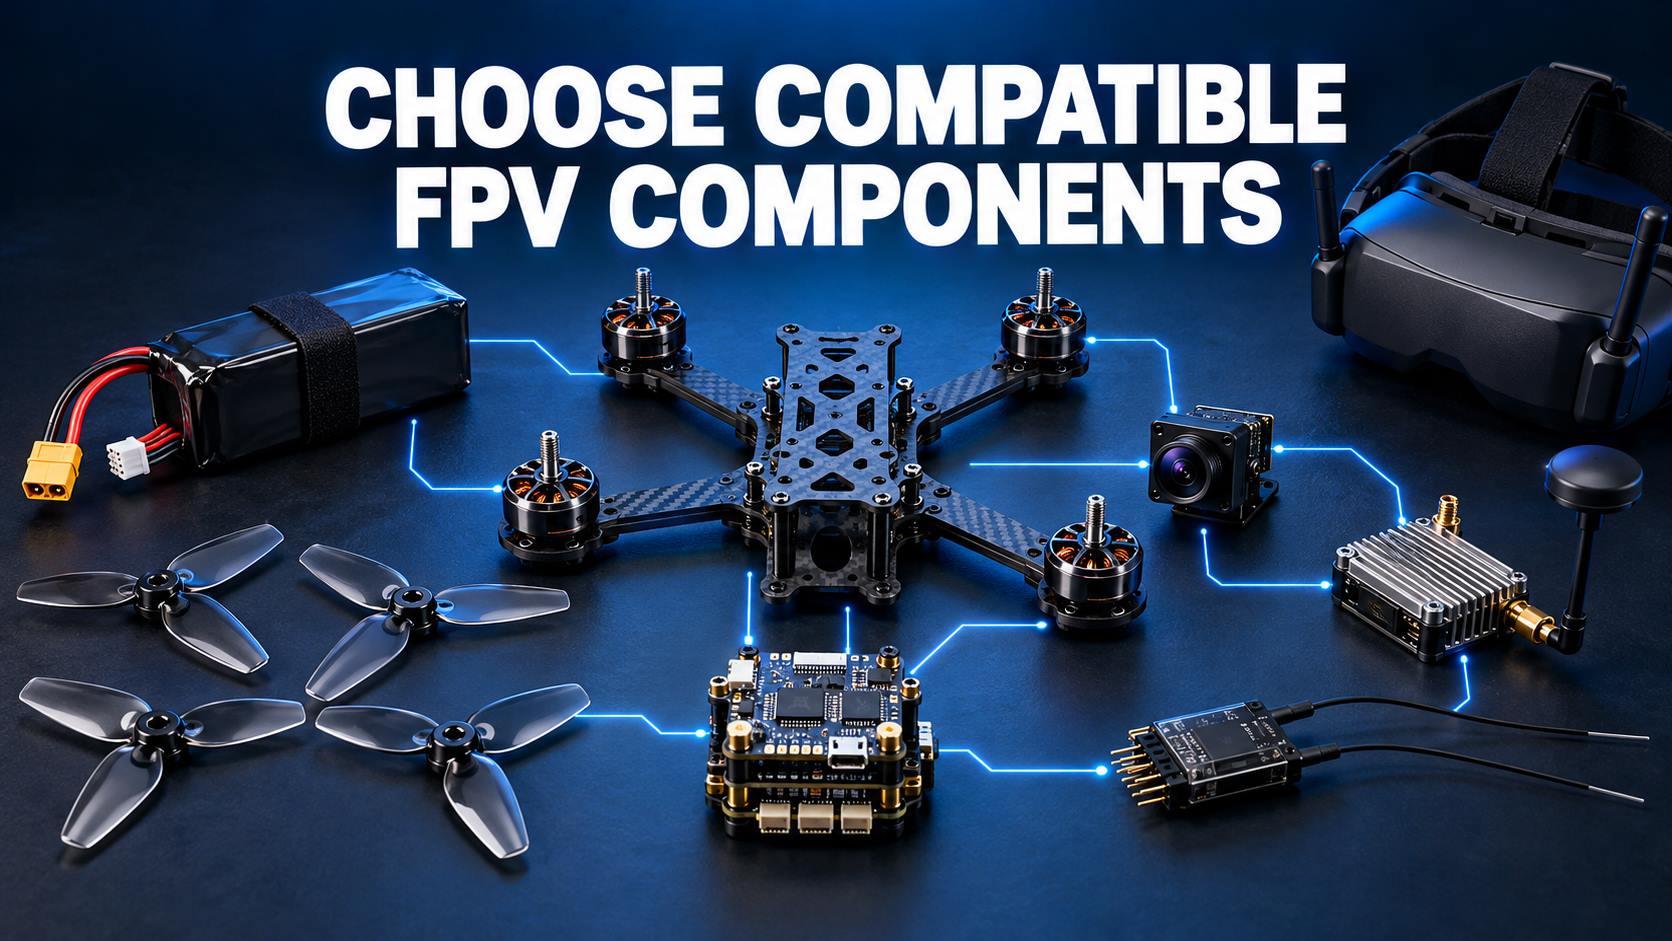
Define what the operator needs to see, then check the lighting or thermal conditions of the intended environment. Confirm the camera’s physical fit and weight, the available power supply, and every device in the analog video path.
For a project purchase, confirm the exact camera revision, cable pinout, mounting method and included accessories. If the imaging task is critical, evaluate representative footage or a sample unit before committing to a larger order.
Conclusion
The choice between starlight and thermal FPV cameras begins with the image your application needs. Starlight imaging helps show visible scene detail when light is limited; thermal imaging helps show heat-related contrast. Once the imaging goal is clear, verify mounting, weight, voltage and analog video compatibility for the exact camera and aircraft.